
Description
How to Design a Notebook Cover (Step-by-Step Guide) From Start To Finish
A notebook cover is more than just a front page. A well-designed cover can instantly communicate the notebook’s theme, attract attention, and make the product look professional and premium.
Whether you’re creating a school notebook, A4 spiral notebook, journal, business notebook, motivational notebook, or creative notebook, the design process is surprisingly straightforward when you follow the right steps.
In this guide, we’ll show you how to design a notebook cover from start to finish, including choosing the size, creating the artwork, adding typography, preparing the back cover, and exporting the final file for printing.
1. Decide the Notebook Size
Before opening Photoshop, Illustrator, Canva, or another design application, determine the final notebook dimensions.
Common notebook sizes include:
- A4 – 210 × 297 mm
- A5 – 148 × 210 mm
- B5 – 176 × 250 mm
- Letter – 8.5 × 11 inches
- Custom sizes for special products
For an A4 notebook, the finished front cover is generally designed around 210 × 297 mm.
However, always confirm the exact dimensions with your printer or manufacturer before starting.
2. Understand the Complete Cover Layout
A complete notebook cover may contain several sections:
- Front cover
- Back cover
- Spine
- Bleed area
- Safe area
If you’re designing a spiral notebook, the spine requirements can be different because the binding uses holes rather than a traditional glued or stitched spine.
Create your document according to the printer’s specifications rather than assuming that every notebook uses the same layout.
3. Set Up Your Design File
For professional printing, create your document at the correct resolution and color mode.
A typical Photoshop setup is:
Resolution: 300 DPI
Color Mode: CMYK for print
Background: Full bleed
File: PSD/AI for editing
Keep important text and logos away from the edges.
This is called the safe area and helps prevent important elements from being accidentally trimmed during production.
4. Choose a Strong Background
The background establishes the overall personality of your notebook.
Depending on the product, you could use:
Minimal
- Solid colors
- Subtle gradients
- Clean geometric shapes
- Soft textures
Premium
- Dark backgrounds
- Metallic effects
- Elegant patterns
- Luxury textures
- Minimal typography
Creative
- Abstract artwork
- Colorful gradients
- Illustrations
- Photography
- AI-generated artwork
Motivational
- Dramatic landscapes
- Powerful typography
- High-contrast compositions
- Inspirational imagery
Choose a background that supports the notebook’s purpose instead of making the design unnecessarily complicated.
5. Add the Main Artwork
The main image is usually the visual focus of the cover.
For example:
Photography Notebook: camera, portrait, studio or cinematic photography
Gaming Notebook: futuristic graphics, gaming elements and neon-style artwork
Motivational Notebook: mountains, athletes, powerful landscapes or inspirational imagery
Student Notebook: clean academic graphics, books, formulas or modern illustrations
Business Notebook: minimal shapes, professional colors and sophisticated typography
Use high-resolution artwork so the printed cover remains sharp.
6. Create a Clear Visual Hierarchy
Not every element should compete for attention.
A good cover normally has:
1. Main title
The most noticeable text.
2. Supporting text
Subtitle, category, slogan or edition.
3. Artwork
The main visual element.
4. Branding
Logo, company name or website.
For example:
A4 SPIRAL
NOTEBOOK
WRITE YOUR
OWN STORY
The viewer should understand the product within a few seconds.
7. Choose the Right Fonts
Typography can completely change the appearance of a notebook.
Try fonts based on the design style:
Modern: Montserrat, Poppins, Inter
Luxury: Playfair Display, Cinzel
Bold: Bebas Neue, Anton, Oswald
Handwritten: Brush or script-style fonts
Avoid using too many fonts. Usually, two complementary fonts are enough for a professional cover.
8. Add Your Branding
Your branding should be visible without overpowering the design.
You can include:
- Logo
- Brand name
- Website
- Product collection name
- Edition/year
- Small brand mark
For example:
RRK PRODUCT
www.rrkproduct.com
Keep branding consistent across your notebook collection so customers can recognize your products easily.
9. Add Effects Carefully
Photoshop offers many effects that can make a cover look more premium.
Some useful effects include:
- Drop shadows
- Inner shadows
- Glow
- Gradient overlays
- Texture overlays
- Light rays
- Grain
- Blur
- Metallic effects
- 3D text effects
The key is moderation.
Too many effects can make the cover look crowded and reduce readability.
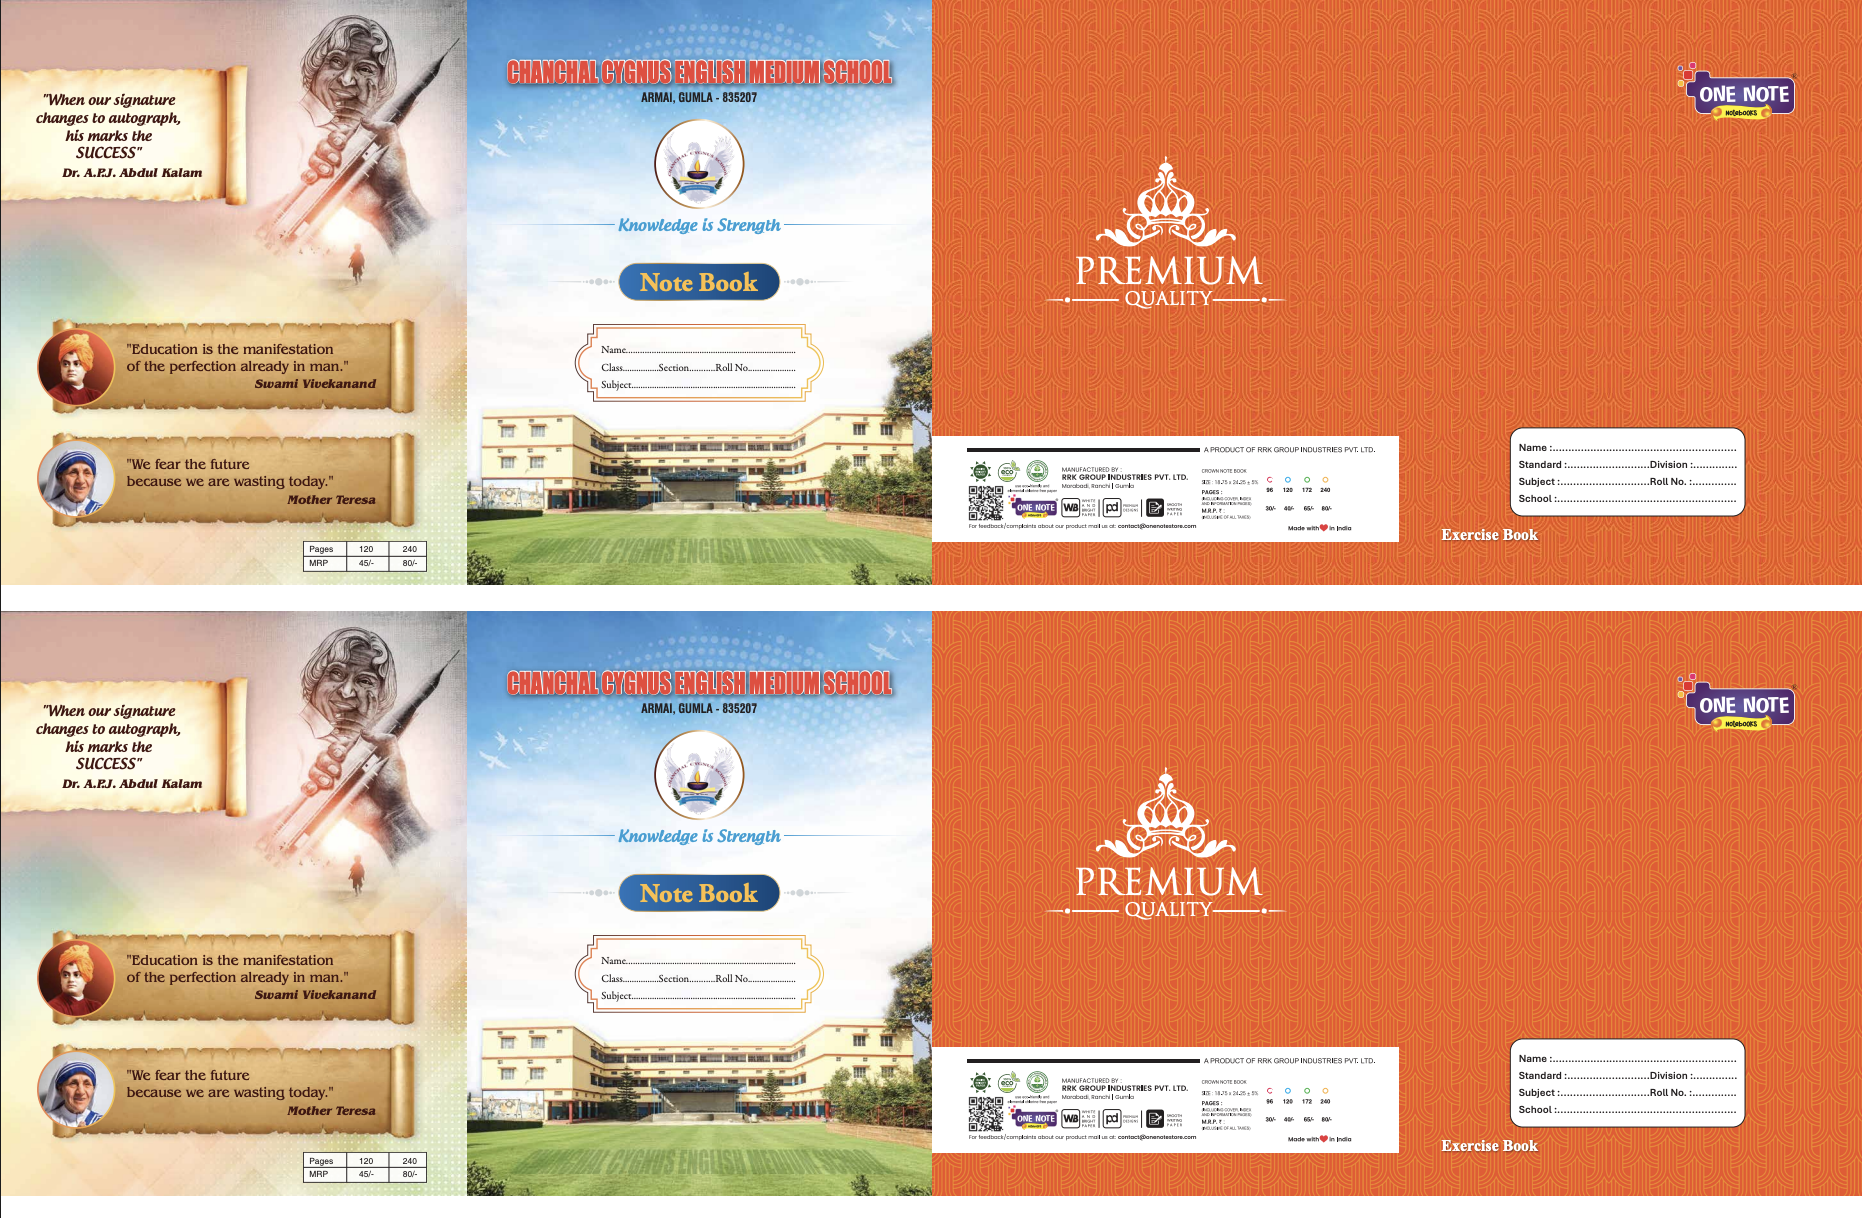
10. Design the Back Cover
Don’t ignore the back cover.
A professional back cover can include:
- Short product description
- Notebook specifications
- Page count
- Paper information
- Brand logo
- Website
- Barcode/QR code
- Social media information
- Manufacturer information
- MRP and other required information
Keep the back cover cleaner than the front.
11. Check the Bleed and Safe Area
Before exporting your design, carefully inspect the edges.
Make sure:
- No important text is too close to the edge.
- Logos are inside the safe area.
- Background artwork extends through the bleed.
- No unwanted white edges are visible.
- Binding areas don’t cover important information.
This step is extremely important for printed products.
12. Proofread Everything
Before sending your design to print, check every word.
Look for:
- Spelling mistakes
- Incorrect website addresses
- Wrong page counts
- Incorrect dimensions
- Incorrect MRP
- Missing branding
- Misaligned text
- Low-resolution images
- Missing elements
It’s also a good idea to ask another person to proofread the final design.
13. Export the Final Cover
For printing, your printer may request different formats.
Common formats include:
- TIFF
- PNG
- JPG
For editable work, keep the original:
PSD / AI / INDD
For the final print file, follow your printer’s requested specifications.
If you’re providing a transparent logo or graphic separately, PNG can be useful because it supports transparency.
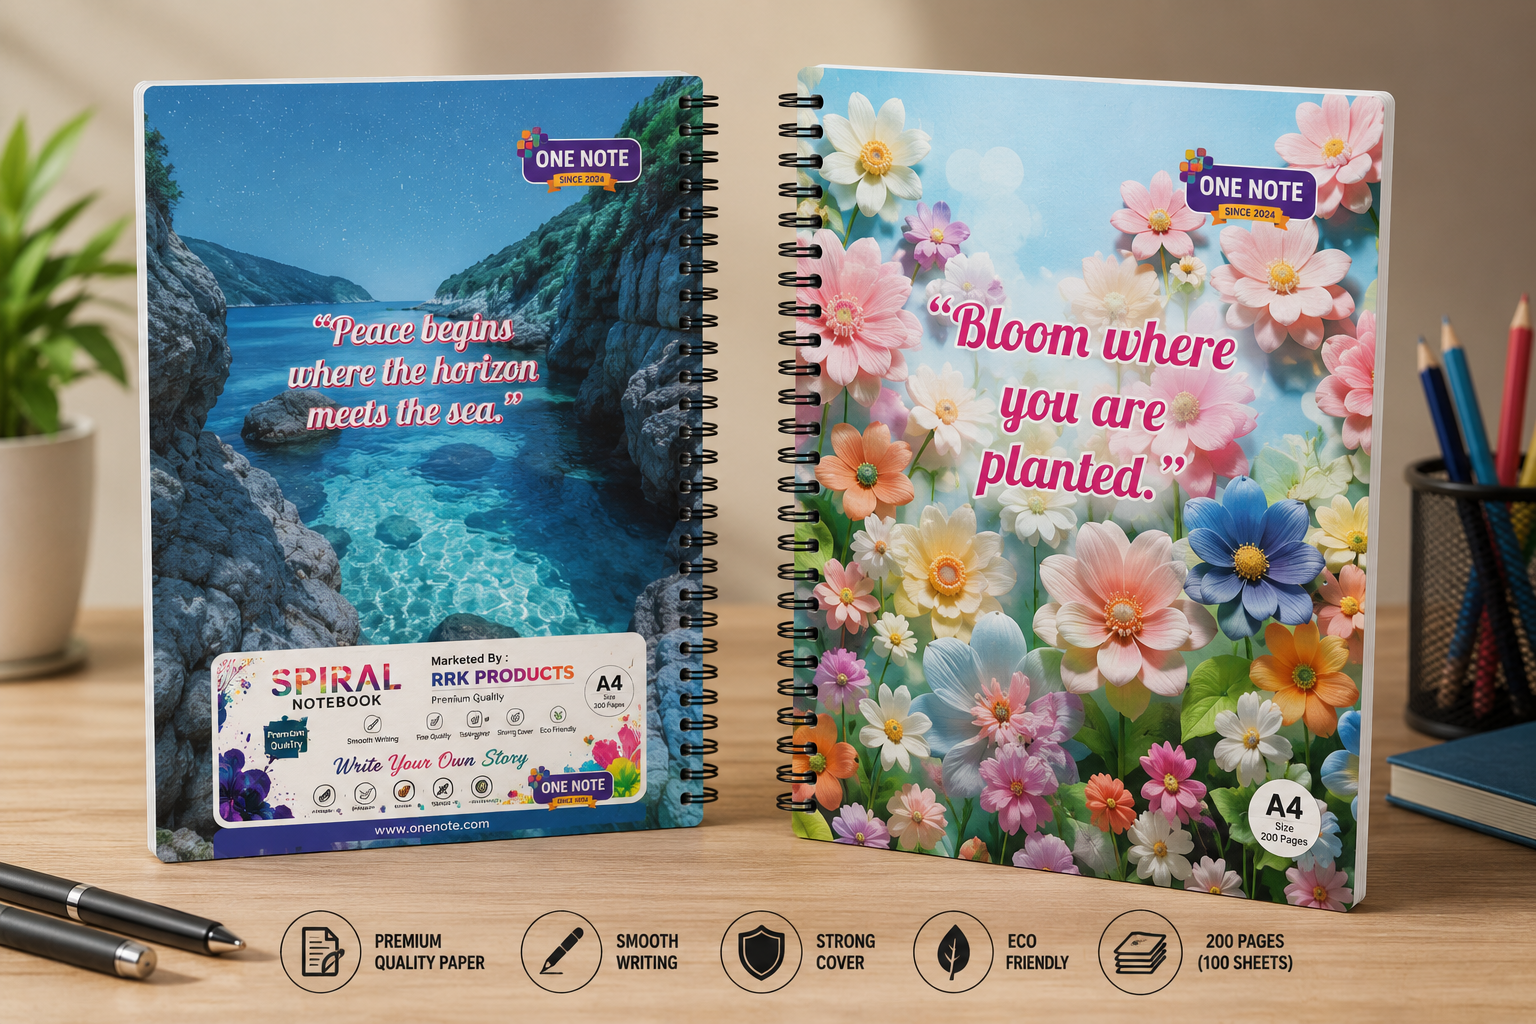
14. Create a 3D Notebook Mockup
Once your cover is finished, create a realistic product mockup.
A mockup helps you visualize how the design will look on the actual notebook.
You can create:
- Front-cover mockups
- Spiral notebook mockups
- Stacked notebook mockups
- Desk scenes
- Lifestyle mockups
- Online-store product images
Mockups are especially useful for product listings because customers can see the design in a realistic context.
15. Prepare Images for Your Online Store
If you’re selling the notebook online, prepare several product images.
A useful product-image set can include:
- Front cover
- Back cover
- Full notebook mockup
- Interior page preview
- Close-up details
- Size/specification image
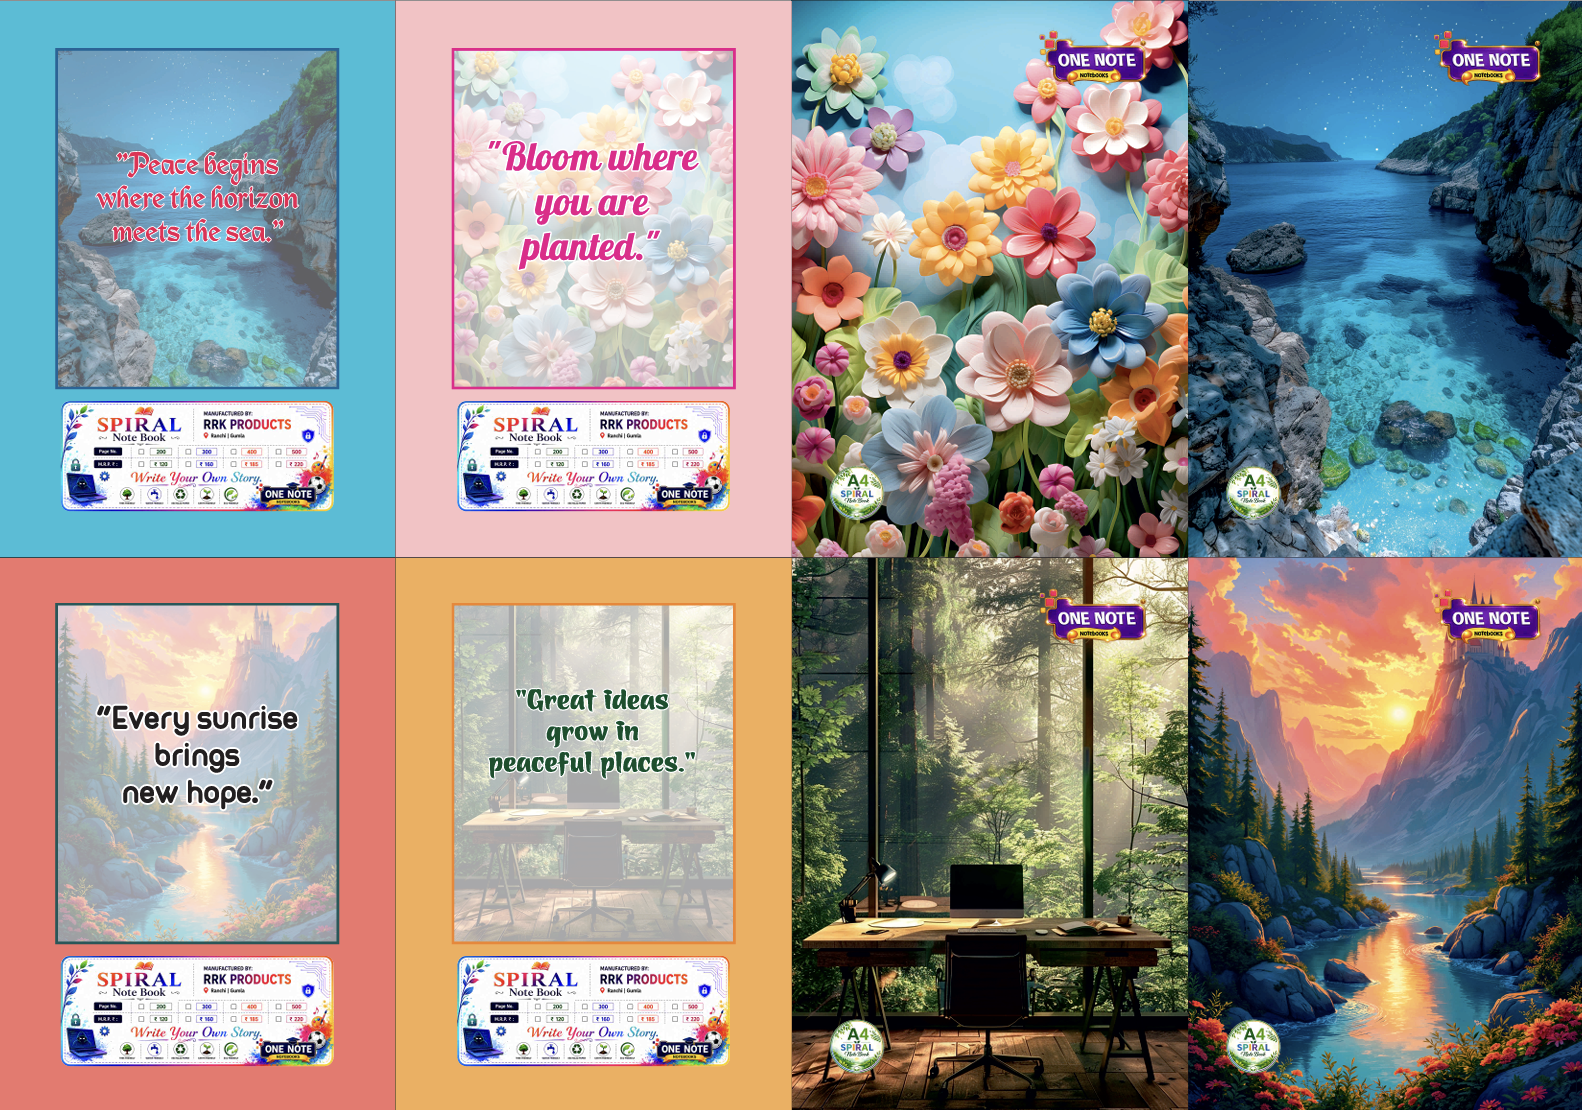
- Multiple notebook designs together
Use consistent dimensions and branding across all product images.
Final Notebook Cover Checklist
Before publishing or printing, check:
☑ Correct notebook dimensions
☑ 300 DPI artwork
☑ Correct color mode
☑ Bleed included
☑ Safe margins maintained
☑ High-resolution images
☑ Readable typography
☑ Correct spelling
☑ Correct MRP/details
☑ Logo and branding added
☑ Front and back covers completed
☑ Print-ready file exported
☑ Product mockup created
☑ Online-store images prepared
VIEW SAMPLE
One Note Notebook_84x59cm_mail One Note Notebook_84x58 cm_mail 2 One Note Notebook_84x59cm
Reviews
There are no reviews yet.